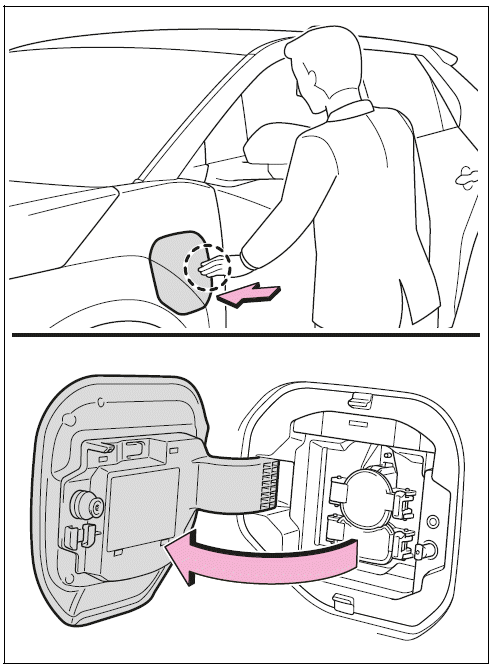
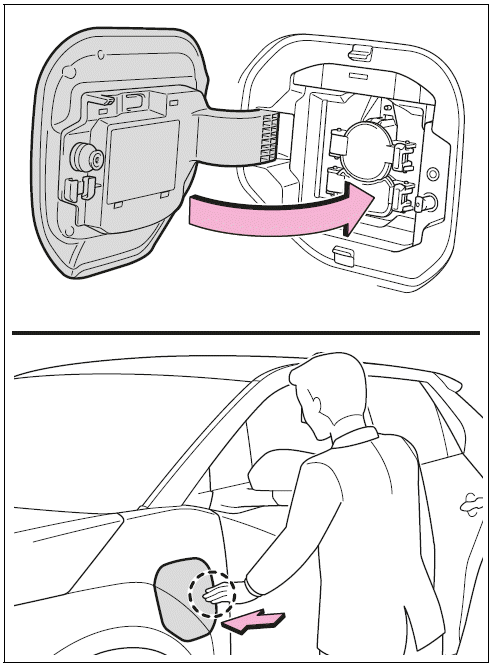
Charging equipment and names

*: For proper handling and precautions for the AC charging cable, refer to the owner's manual that comes with it.
Opening/closing the charging port lid
Opening the Charging Port Lid
Accessing the charging port is a simple yet crucial step in ensuring a seamless charging process. To begin, gently press the rear edge of the charging port lid to release the latch. Once the lid is slightly open, lift it fully by hand to access the charging inlet. This method provides secure and effortless access to the charging system, preventing unnecessary force that could potentially damage the components.
It’s important to handle the charging lid carefully to avoid exposure to dust, moisture, or debris, which could interfere with the charging mechanism over time. After completing the charging process, always ensure the lid is securely closed to maintain the system’s integrity and protect it from external elements. Regular checks and proper maintenance help ensure the longevity of the charging components, contributing to a smooth and efficient electric driving experience.
Closing the Charging Port Lid
After completing the charging process, securely closing the charging port lid ensures protection against external elements like dust, moisture, and debris. Begin by positioning the lid in a slightly open position, then gently press the rear edge to lock it into place. This simple but essential step helps maintain the integrity of the charging system and prevents potential damage over time.
Regular inspection of the charging port and lid can help detect signs of wear and ensure smooth operation. Keeping the lid properly closed not only safeguards the electrical components but also contributes to long-term efficiency, ensuring seamless charging sessions with minimal complications.
About the Lid Lifter
Ensuring the charging port lid closes properly requires attention to the lid lifter mechanism. If the lid lifter is engaged before the charging port lid is closed, the lid may not shut completely. To resolve this, first confirm that the door is unlocked, then press the lid lifter again to release it. Once the lifter is disengaged, close the charging port lid securely.
Proper closure prevents dust, moisture, and debris from affecting the charging system, ensuring long-term reliability. Regular checks on the lid mechanism can help maintain smooth functionality and prevent minor obstructions from interfering with the charging process.
About the Charging Port Lid Open/Close Detection Switch
The charging port lid is equipped with an open/close detection switch that ensures proper functionality. When the lid is open, avoid touching the switch, as accidental contact may cause the system to register an incorrect status.
If the switch is inadvertently triggered while the lid is open, the vehicle may mistakenly indicate a change in the charging process or lid position. To prevent unintended alerts, handle the charging port lid carefully and ensure the detection mechanism remains unobstructed during charging and closing procedures.

Charging Indicator
The charging indicator provides real-time updates on the charging status through various illumination and flashing patterns. These visual signals help users track the charging process and ensure proper connection to a power source.
By understanding these indicator patterns, drivers can effectively monitor battery charging progress, identify potential issues, and optimize charging efficiency. Paying attention to these signals helps maintain battery health, ensuring a consistent and reliable driving experience.
Illumination/ flashi ng pattern:
Illuminated
Vehicle condition:
Illumination/ flashi ng pattern:
Flashes normally* 2
Vehicle condition:
When charging schedule is registered and AC charging cable is connected to vehicle
Illumination/ flashi ng pattern:
Flashes rapidly*2
Vehicle condition:
When charging cannot be carried out due to malfunction in a power source or the vehicle, etc.
*1:The indicator is dimmed when the charging is done
*2:Flashes for a certain period of time, and then turns off.
 Charging
Charging
Efficient and convenient charging is key to getting the most out of your Toyota bZ4X electric SUV. Understanding the various charging equipment options, including essential accessories like the AC charging cable, allows you to seamlessly integrate vehicle charging into your daily routine. Our articl ...
Using an anchor bracket (for top tether strap)
Anchor brackets (for top
tether strap)
Anchor brackets are provided
for each rear seat.
Use anchor brackets when fixing
the top tether strap.
Outboard rear seats
Anchor brackets
Top tether strap
Rear center seat
Anchor bracket
Top tether strap
F ...
